How to Plan a Playground Layout Before You Buy Anything
Plan the playground layout before you shop: buildable area, CPSC use zones, swing and slide clearances, age separation, the accessible route and the real budget.
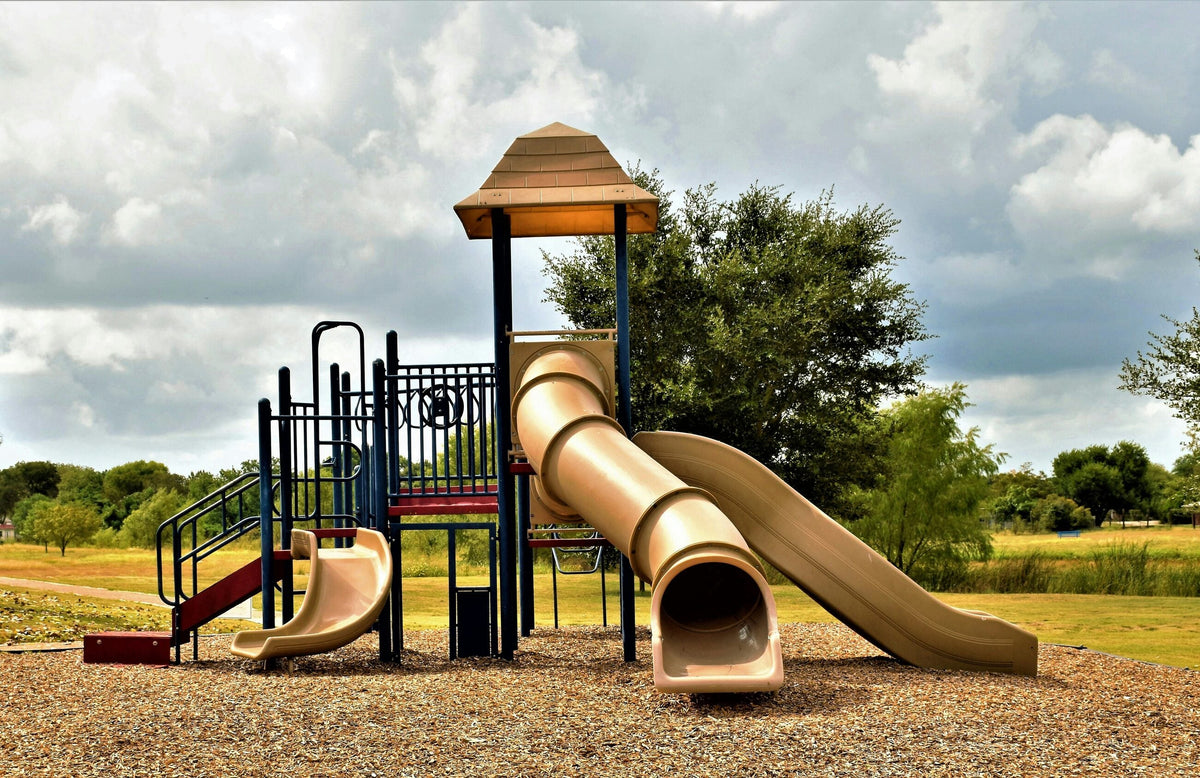
A good playground layout starts with the site, not the brochure: measure the area you can actually use, draw the use zones around each piece, place the accessible route, and only then choose equipment that fits. Most projects are planned backwards. Someone falls for a structure in a catalog, then finds it does not fit, does not suit the age group or leaves no room for the route. This is the order that avoids all of that, and it takes an afternoon.
TL;DR
- Plan against the use zone, not the footprint: the CPSC recommends at least 6 feet of surfaced, obstacle-free space on every side of stationary equipment.
- Swings need the most room: the use zone runs twice the pivot height in front and behind, so an 8 foot pivot needs 16 feet clear each way.
- A 31 by 19 foot structure needs at least a 43 by 31 foot use zone, 1,333 square feet against a 589 square foot footprint, about 2.3 times the area.
- Separate ages 2 to 5 and 5 to 12 into their own areas, and draw a 60 inch accessible route from parking or a sidewalk before placing any equipment.
- Equipment is usually 50 to 65 percent of the total, so price surfacing, installation, freight and a 10 percent contingency before you pick a structure.

How much space do you need for a playground?
You need the equipment footprint plus its full use zone, plus room for the accessible route, seating and access, so start by measuring the buildable area rather than the whole field.
Measure the area you can genuinely give over to play, in feet, length by width. Then subtract:
- Anything within 6 feet of a fence, wall, path or planting bed, because use zones cannot overlap them
- Ground steeper than roughly 1 in 20, which will need grading or a retaining edge
- Drainage runs, buried utilities and mature tree root zones
- The access route a delivery truck and a small excavator need to get in
What is left is your buildable area. It is usually smaller than people expect, and knowing it before you shop saves an entire round of redesign. If you have a survey or CAD base plan, our landscape architect resources page explains what we can supply for drawings.
What is a playground fall zone, and how big does it need to be?
A playground fall zone, called the use zone in the CPSC Public Playground Safety Handbook, is the surfaced area under and around equipment where a child could land, and for most equipment it extends at least 6 feet in every direction.
It is the single most important idea in playground design and the one most often missed. Every structure has a footprint, the ground the equipment occupies, and a use zone, the area around it that must stay clear and be surfaced to ASTM F1292 for the equipment's fall height.
Worked example: footprint vs use zone
A structure with a 31 by 19 foot footprint needs at least a 43 by 31 foot use zone, adding 6 feet on all four sides. That is 1,333 square feet of surfacing against a 589 square foot footprint, about 2.3 times the area. A slide exiting from a deck over 6 feet high pushes it further. Plan against the footprint and you will be short of space and short of surfacing budget.
Swings
Belt swings need a use zone of twice the pivot height in front and twice behind, plus 6 feet to each side. An 8 foot pivot means 16 feet clear in each direction, and that front and rear zone should never overlap anything else. Tire swings need 6 feet plus the length of the chains in every direction. Swings also belong away from the main traffic path, so children do not run through the arc. Frames and bay counts are in our commercial swings collection.

Slides
The exit zone in front of a slide is at least 6 feet for slides 6 feet high or less. For taller slides it matches the slide height, up to a maximum of 8 feet. Slide exit zones should not overlap other equipment's zones, although two slides with parallel paths can share one.
Spacing between structures
Two structures can share use zone space only if their adjacent play surfaces are 30 inches high or less and they sit at least 6 feet apart. If either adjacent surface is higher than 30 inches, leave at least 9 feet. Confirm this with your supplier in writing for the exact pieces you choose.
| Equipment | Minimum use zone |
|---|---|
| Stationary equipment and composite structures | 6 ft in all directions from the perimeter |
| Two structures, adjacent play surfaces 30 in or lower | May share zone if at least 6 ft apart |
| Two structures, adjacent play surface over 30 in | At least 9 ft apart |
| Belt swing, front and rear | 2 x pivot height (8 ft pivot = 16 ft each way) |
| Belt swing, sides | 6 ft from the perimeter |
| Tire swing | 6 ft plus chain length, in every direction |
| Slide exit, slide 6 ft high or less | 6 ft in front of the exit |
| Slide exit, slide over 6 ft high | Equal to slide height, up to 8 ft |
How many children should the playground hold?
Design for peak simultaneous use, meaning the most children on the equipment at the busiest moment, not your total enrollment.
A school of 400 students that sends out one class of 25 at a time needs a very different structure from one that releases 200 at recess. Manufacturers price on capacity, so specifying for the whole roll instead of the peak wastes serious money. Count the real peak, add a margin, and that is your capacity target.
Which age groups are you designing for?
Commercial equipment is designed for one of three age bands, 6 to 23 months, 2 to 5 years or 5 to 12 years, and each band needs its own area and use zone.
These are not marketing labels. They drive deck heights, guardrails, step spacing and fall heights. If you serve two age groups, plan two areas separated by a buffer such as benches or planting, not one bigger structure. The CPSC also suggests keeping the older children's area visible from the younger one. Mixing ages is a safety finding waiting to happen. Our play systems are listed by age band so you can shortlist inside the right one.
Where should the accessible route go?
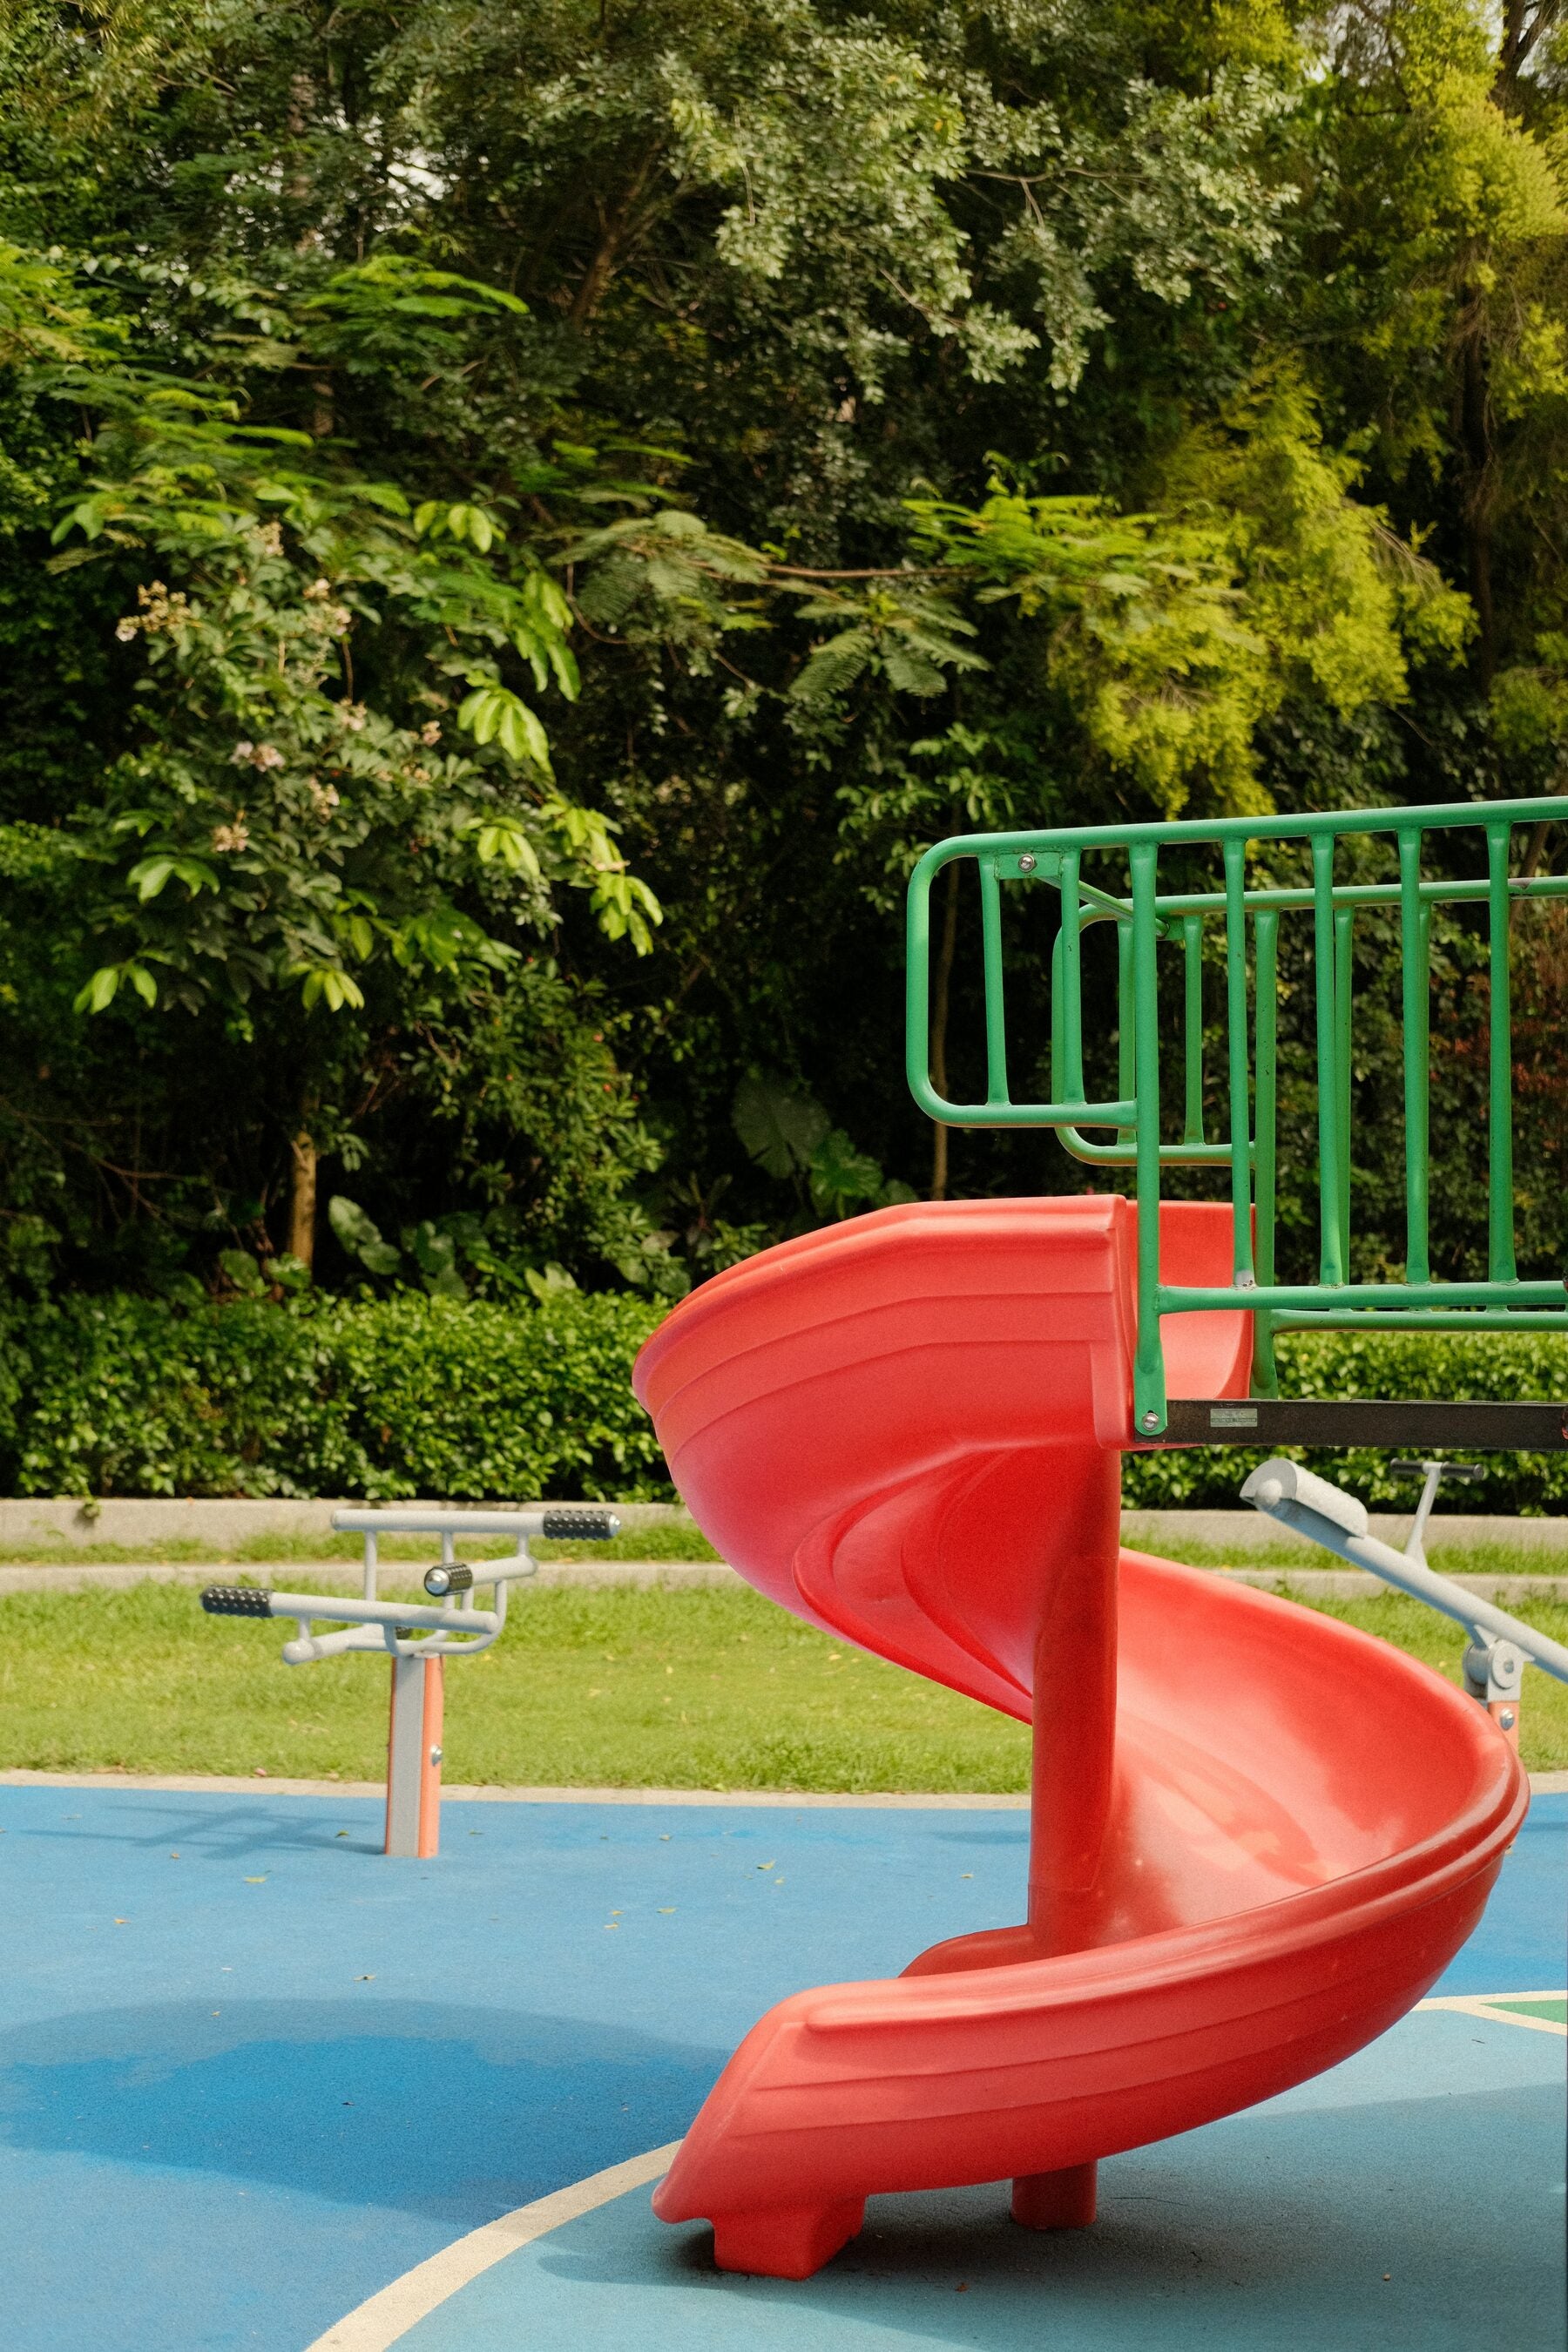
Draw the accessible route first, from the nearest accessible parking space, sidewalk or building entrance to where the equipment will sit, before you place a single structure.
On the ground it needs 60 inches of clear width and a running slope no steeper than 1:16, according to the Access Board's accessible play areas guide. It has to be firm, stable and free of steps, curbs and border lips the whole way. Doing this first often moves the structure, and it is essentially free at this stage. Retrofitting a route after installation is expensive and sometimes impossible. Our ADA playground requirements guide covers component counts and route surfacing in detail.
What else should a playground design account for?
Sun, sight lines, seating, drainage and snow decide whether a playground gets used, and none of them show up on an equipment drawing.
- Sun. What is unshaded at 2 p.m. in July? The CPSC advises shading bare metal slides, decks and steps or keeping them out of direct sun, because they can burn. Shade is far cheaper installed with everything else; see our shade and shelter collection.
- Sight lines. Can one supervising adult see the whole area from one spot? Enclosed tunnels and solid panels create blind spots.
- Seating. Adults will stand somewhere. Put benches outside the use zone, or they will stand inside it.
- Drainage. A use zone that holds water ruins loose fill and shortens the life of everything in it.
- Winter. In New England, decide where plowed snow goes. Piling it on the surfacing compacts loose fill and buries border timbers. Freeze and thaw also lift poorly drained edges, so drainage matters twice.
How do you budget a playground layout?
Equipment is usually 50 to 65 percent of the total project, so the layout is only affordable once surfacing, installation, freight, site work and contingency are priced alongside it.
Our planning split for a typical commercial project:
- Equipment: 50 to 65 percent
- Safety surfacing: 15 to 25 percent, driven by use zone area and fall height
- Installation: 15 to 25 percent
- Freight: 5 to 10 percent
- Site preparation: 0 to 20 percent, depending on demolition, grading and drainage
- Contingency: 10 percent
As a worked example, a structure priced at $18,998.74 suggests a total project of roughly $29,000 to $38,000 before any demolition. If the total does not fit, phase it on purpose rather than shrinking everything. Buy the core structure now and add shade, amenities and the second age group next year. Our commercial playground cost guide breaks the numbers down further.

What to have in hand before you request quotes
- Buildable area, length by width in feet
- Age ranges to be served
- Peak simultaneous capacity
- ZIP code for freight
- Where the accessible route starts
- Known site conditions: slopes, drainage, demolition, access
- Total budget and how you intend to pay
A supplier given those seven things can produce a firm all-in price. A supplier given "we want a new playground" produces a brochure and a phone call.
Frequently asked questions
What is a playground fall zone?
A playground fall zone, which the CPSC calls a use zone, is the surfaced area under and around equipment where a child could land after falling or jumping off. It must be clear of obstacles and covered with impact-absorbing surfacing rated for the equipment's fall height under ASTM F1292. For most stationary equipment it extends at least 6 feet on every side.
How much space do you need around playground equipment?
The CPSC Public Playground Safety Handbook recommends a use zone of at least 6 feet in all directions from stationary equipment. Swings need twice the pivot height in front and behind, and slides over 6 feet high need an exit zone as long as the slide is high, up to 8 feet. Plan the site against those zones, not the footprint.
How far apart should playground equipment be?
Two stationary structures can share use zone space if their adjacent play surfaces are 30 inches high or less and they sit at least 6 feet apart. If either adjacent play surface is higher than 30 inches, keep at least 9 feet between them. Swing zones in front and behind, and slide exit zones, should never overlap anything else.
How much space does a swing set need?
A belt swing needs a use zone of twice the pivot height in front and twice behind, plus 6 feet on each side. With an 8 foot pivot that is 16 feet clear in each direction, so a swing frame usually needs a surfaced area well over 32 feet front to back. Place swings away from main traffic routes.
How deep should playground surfacing be?
The CPSC recommends at least 9 inches of loose fill such as engineered wood fiber, or 6 inches of shredded rubber, measured after compaction. Loose fill compresses by at least 25 percent, so 9 inches in service means installing about 12 inches. The exact depth depends on the fall height and the product's ASTM F1292 test result.
Should toddler and school-age equipment be in the same area?
No. Equipment for ages 2 to 5 and ages 5 to 12 should sit in separate areas with their own use zones, divided by a buffer such as benches or planting. The CPSC also suggests keeping the older children's area visible from the younger one so supervising adults can see both. Under the ADA, each area needs its own accessible route.
Send us the seven numbers
Send us those seven things and we will come back inside 24 hours with one number covering equipment, freight, surfacing and installation, plus the use zone we are planning against. Start a quote, or work through the full playground planning guide first.
- CPSC Public Playground Safety Handbook, Publication 325
- United States Access Board, guide to the play areas requirements
- ASTM F1487, safety performance specification for playground equipment
- ADA and ABA accessibility guidelines, section 1008 play areas
- IPEMA product certification register
Cost figures are PlayGrove planning estimates based on current manufacturer pricing and installed project costs in the United States. They are budgeting ranges, not quotes. Standards are revised periodically, so check the current revision before specifying.
Turn this into a number you can take to a board
Send the dimensions, the age ranges and the ZIP code. You get one firm all-in proposal covering equipment, freight, surfacing and installation, written to be read by people who were not in the meeting.
A quote costs nothing and commits you to nothing. If you are early and just need a credible number for a grant application, that is a perfectly good reason to ask.